By
-April 5, 2020
The main menu in Opencart displays categories that are selected to show in the top menu, it only works for the top parent categories. Right now you can manage the top menu to show the categories, we see some hidden codes and modules that Opencart default is trying to come up within the upcoming version but for now, we can change the navigation just by handling the categories. We will show you one easy way to add the item in the top menu with the OCMOD module.
Show top level categories in the main menu
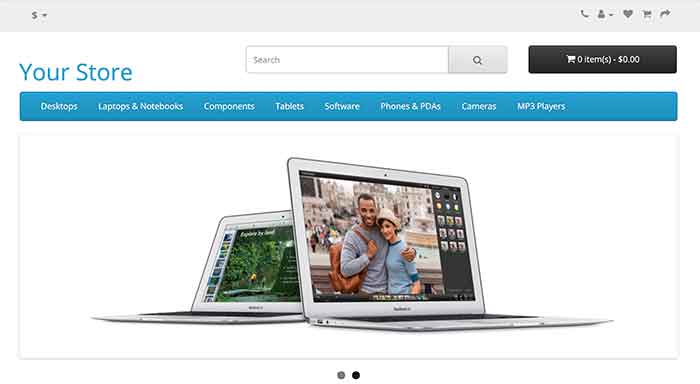
In default Opencart you can see the menu items like the image below:

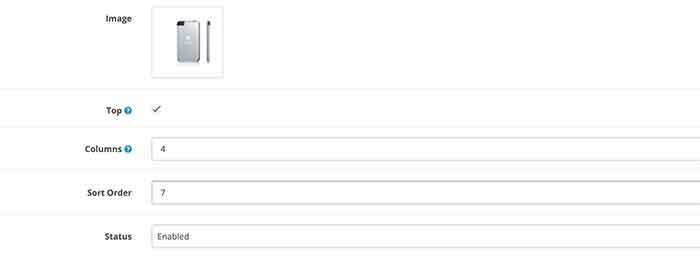
To change the categories, please log in to the Opencart admin then go to Catalog >> Categories where you will see lists of categories. You can edit the existing top-level categories or add the new categories. Then in the data tab, you will see a Top checkbox field where you can check to show in the main menu.

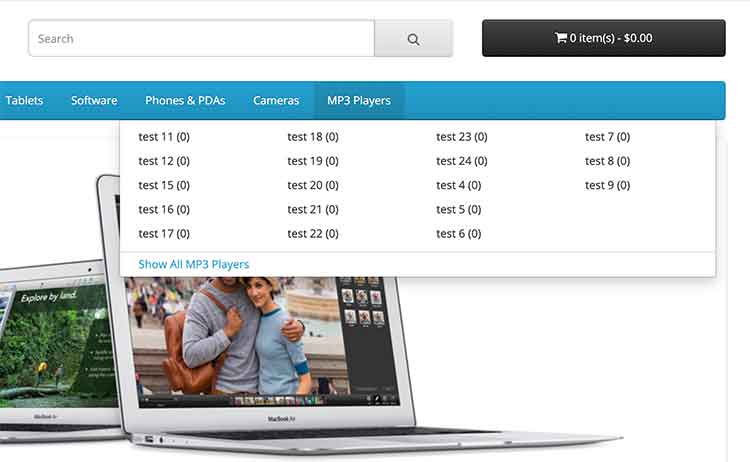
It works only for top-level categories, do not work for sub-categories. All sub-categories are shown in the dropdown of the top-level category of the menu. Just below the Top field, there is the Columns field which is for the dropdown menu column distribution, the number of columns to use for the bottom 3 categories. For example, you can see the “MP3 Players” category of default demo data of Opencart whose Top field is checked and in Columns field it is added 4 like:

The output menu looks like below in demo data of Opencart.

In this way, you can show the top level categories in the top main menu of Opencart.
Add custom menu item in Opencart main menu
For that, we are showing you by creating OCMOD module. Let’s create install.xml file and then copy the following code and paste in the install.xml
<?xml version="1.0" encoding="utf-8"?>
<modification>
    <name>Custom Menu</name>
    <version>3.0</version>
    <author>Rupak Nepali</author>
    <link>https://webocreation.com</link>
    <code>webocreation_custom_top_menu</code>
    <description>Custom Menu for Opencart</description>

    <file path="catalog/view/theme/*/template/common/menu.twig">
        <operation>
            <search><![CDATA[{% for category in categories %}]]></search>
            <add position="before"><![CDATA[
                <li><a href="https://YOURURLHERE">TEXTHERE</a></li>
            ]]>            </add>
        </operation>
    </file>
</modification>
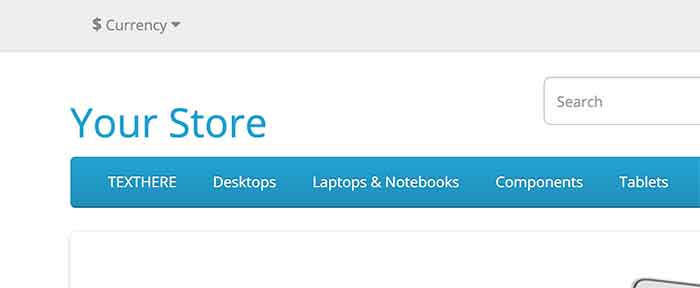
In the code above find https://YOURURLHERE and replace with your URL and find TEXTHERE and replace it with your text to show. Once you change them, compress the install.xml and rename the zip file as custom-menu.ocmod.xml. Then, go to admin >> Extensions >> Installer and upload the custom-menu.ocmod.xml. After that go to admin >> Extensions >> Modifications and click the refresh button. Once you did above steps then it will show like in the image below:

In this way, you can add the custom menu item in the Opencart main menu. Please don’t forget to post your questions or comments or errors so that we can help you. You can follow us at our twitter account @rupaknpl. Subscribe to our YouTube channel for Opencart tutorials, and click to see all Opencart tips and tricks.
source : https://webocreation.com/manage-menu-and-change-navigation-or-menu-in-opencart/